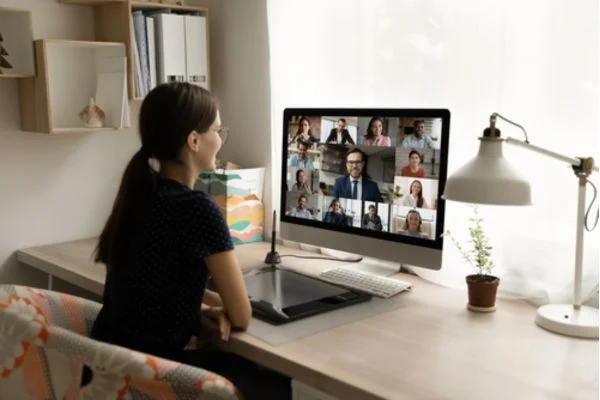
Want to know how to improve webcam quality windows 10? Yes this blog is your destiny. Webcams are now a crucial part of our daily lives, as most of us are working or studying from home due to the ongoing COVID-19 pandemic. However, the quality of webcams on laptops and desktops could be better.
Many Windows 10 users have reported that their webcams produce blurry or grainy images and videos, which can be frustrating while attending online meetings or classes.
But worry not; in this blog post, we will guide you through some simple steps to improve your webcam quality on Windows 10 to look sharp and professional during virtual calls.
How To Improve Webcam Quality Windows 10 | Pro Tips
1. Check Your Webcam Settings
Your webcam settings need to be optimized for video quality first. On your Windows 10 computer, open the Camera app, go to Settings, and click Video format. Various options like resolution, brightness, contrast, and exposure are here.
The resolution should be set to the highest option, and brightness, contrast, and exposure should be adjusted to your liking.
2. Update Your Webcam Driver
Outdated webcam drivers can cause performance issues and affect the quality of your videos. To update your webcam driver:
- Go to the Device Manager and find your webcam under Imaging Devices.
- Right-click on the webcam and select Properties.
- Click on Update Driver under the Driver tab.
Windows will search and install the latest driver available for your webcam automatically.
3. Use Good Lighting
Good lighting is essential for producing high-quality videos. Backlighting can cause shadows on your face, so make sure your face is well-lit. Use natural light, or place a lamp or LED light before you. It would be best if you didn’t sit in front of a window because it makes the camera adjust the exposure, resulting in washed-out photos.
4. Clean Your Webcam Lens
Dirt, dust, and fingerprints on your webcam lens can reduce the quality of your videos. Clean your webcam lens with a microfiber cloth or a lens cleaning kit to avoid this.
Make sure to avoid using any abrasive material that might scratch the lens. Clean the lens regularly to ensure that your videos remain clear and sharp.
Also Read: How To Set Up Laptop For Zoom Meeting?
5. Use a Third-Party Webcam Software
Last but not least, if you still need more than video quality, use a third-party webcam software that offers advanced features like filters, effects, and enhancements.
The majority of these programs can be downloaded and used for free online. It’s up to you to experiment with different software until you find one that works for you.
Also Read: How To Grant Permission To Use Webcam?
How Do I Fix My Hd Webcam?

Nothing is more frustrating than having a video call scheduled only to discover that your HD webcam isn’t working. A malfunctioning webcam can ruin an otherwise good day and, unfortunately, can cause multiple setbacks if you work from home.
Luckily, with some troubleshooting, you can fix your webcam and stay connected. In this blog, we’ll guide you through fixing your HD webcam step-by-step.
Step 1 – Check your connections and settings
The first step in fixing your webcam is checking your connections and settings. Ensure your camera is plugged in and your internet connection is stable. Try resetting your router or modem if the connection is weak.
Next, check your computer’s camera settings to ensure that the camera is enabled and that privacy settings are not blocking the program you’re using for the call.
Step 2 – Clean your webcam lens
A dirty camera lens can cause blurry or unclear footage. Clean the camera lens with a microfiber cloth or a lens cleaner. When cleaning the lens, use a gentle cleaner and avoid applying too much pressure.
Step 3 – Update your drivers
New updates and drivers can resolve issues that you might be experiencing with your device. Visit your webcam manufacturer’s website and download the latest drivers for your device. Once you’ve installed the software, restart your computer and test your webcam again.
Step 4 – Check for malware
Malware can cause your computer to crash, freezing programs and the webcam. Run a virus scan to check for any malware affecting your computer. Ensure your antivirus program is updated, and use reputable software to perform the scan.
Step 5 – Purchase a new webcam
The final option is to purchase a new webcam. If your webcam has been around for a while, it may be time for an upgrade. Research and buy a webcam that suits your needs and budget. Follow the instructions provided by the webcam manufacturer to install your new device.
Also Read: Why Isn’t My Webcam Working?
Bottom Line:
Now you know, How To Improve Webcam Quality Windows 10. You can improve your webcam quality on Windows 10 by following these steps. You can make your videos look better with good lighting, a clean lens, and optimized settings.
Your webcam can perform better if you update your driver and use third-party software. So, the next time you attend an online meeting or class, you can impress your colleagues or classmates with your professional and sharp appearance.


