Do you have any idea about how to remove camper toilet? Replacing a camper toilet can be intimidating, but it is easier. This blog post will cover the basics of removing an old camper toilet and replacing it with a new one. So we’ve got you covered if you need to change out an old, worn-out toilet or upgrade to something more modern!
Can You Take The Bathroom Out Of A Camper?
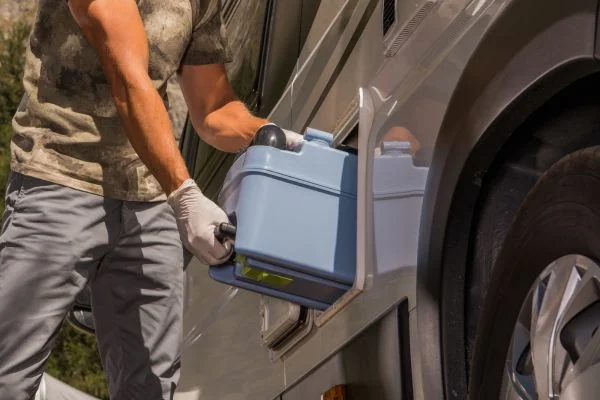
Many modern campers come equipped with full bathrooms with a shower, toilet, and sink. While this can be a great convenience, it also adds a lot of weight to the camper and uses valuable space. As a result, some campers choose to remove the bathroom from their camper altogether. Of course, this requires making additional accommodations, such as using an outhouse or investing in a portable toilet. Still, it can free up a lot of space and make the camper lighter and easier to tow.
Of course, whether or not to remove the bathroom from a camper is ultimately a personal decision. Some campers prefer the convenience of having a bathroom on board, while others are happy to sacrifice this luxury in exchange for a more compact and lightweight camper.
When Do You Need To Remove The Toilet From The Camper?
There are a few scenarios where you might need to remove your toilet from your camper. One is if you’re renovating and need to access the plumbing. Another is if you’re having issues with the toilet and need to troubleshoot or replace parts.
And finally, you might need to remove the toilet if you’re selling your camper and want to give the new owners a clean slate. Whatever the reason, removing a toilet isn’t that difficult of a task. You’ll need a few tools and to follow a few simple steps. With that said, here’s how to remove a toilet from a camper.
Read More: How To Drain A Camper Toilet?
How To Remove Camper Toilet: Step–By-Step
Step 1: Prepare the Area
Before you begin working on the toilet, ensure you have all the necessary tools and materials. This includes a wrench set, screwdriver, pliers, putty knife, caulk gun, and any replacement parts that may be needed (e.g., bolts).
You’ll also want some rags or paper towels handy for cleaning up any spills or messes that may occur during the process. Once everything is in place and ready to go, turn off the water supply valve to the camper before beginning work on the toilet.
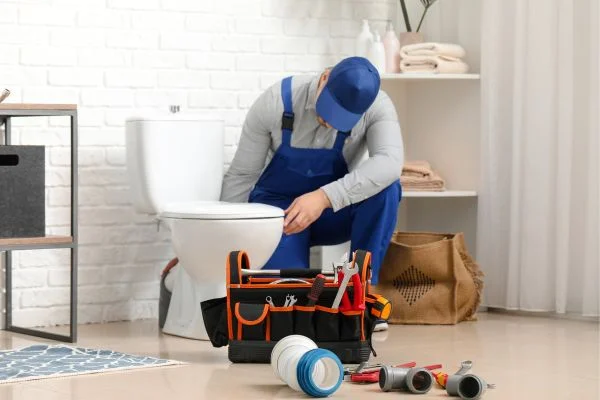
Step 2: Remove Old Toilet
Once you’ve turned off the water supply valve, begin loosening and removing any screws holding down the toilet bowl from underneath. Then use your wrench set to disconnect both water lines from under the bowl (one for cold water and one for hot).
If a wax ring connects the base of your old toilet to the floor surface (which there likely will be), use a putty knife to carefully pry this free before lifting away your old toilet bowl. Be careful not to damage any surrounding surfaces as you do so!
Step 3: Install New Toilet Bowl
Once you have removed your old toilet bowl from its mountings, it’s time to install your new one! Begin by placing a new wax ring onto your new bowl before inserting it into its mounting holes on either side of the floor surface.
Then attach both of your water lines back up using your wrench set before tightening down screws beneath the bowl with a screwdriver or pliers. Finally, re-caulk around the base of the bowl if desired, and turn the water supply back on!
Read More: Can You Flush Toilet Paper In A Camper?
Conclusion
We hope now you know how to remove camper toilet. With these steps in mind, you should now be well-prepared to remove and replace any camper toilets. Just remember to take extra care when handling fragile components like wax rings and water lines; if done correctly with patience and attention to detail, you should have no trouble changing out an old camper toilet for good in no time! Good luck!