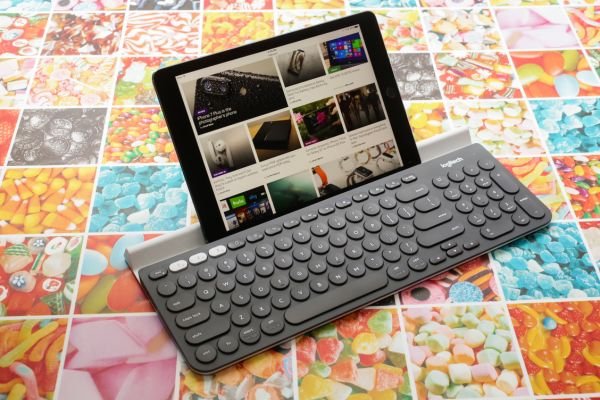
Tired of dealing with tangled wires? Ready to upgrade to a wireless keyboard for your Mac? You’re in luck. This step-by-step guide will show you how to connect Logitech wireless keyboard to Mac. Let’s get started!
To connect a Logitech wireless keyboard to a Mac, turn on the keyboard, go to Mac’s Bluetooth settings, and select the keyboard from the list of available devices. Follow the on-screen instructions to complete the pairing process.
Can I Use A Logitech Wireless Keyboard With My Mac?
Logitech is a well-known brand when it comes to computer accessories, and its wireless keyboards are no exception. Can you use a Logitech wireless keyboard with your Mac? The short answer is yes, you can use a Logitech wireless keyboard with your Mac.
Logitech wireless keyboards are compatible with both Windows and Mac computers, so you should be able to use one with your Mac. The slightly longer answer is that you may need to troubleshoot to get your Logitech wireless keyboard to work with your Mac.
This is because, while Logitech wireless keyboards are compatible with Macs, they often use a different connection protocol than Macs.
You may need to download and install a driver for your Logitech wireless keyboard to work properly with your Mac. However, this is a fairly simple process, and Logitech provides drivers for their keyboards on their website.
So, yes, you can use a Logitech wireless keyboard with your Mac. However, you may need to troubleshoot to get it working properly. But, as long as you have the proper drivers installed, you shouldn’t have problems using your Logitech wireless keyboard with your Mac.
Also Read: Are Typewriter Keyboards Good For Gaming?
How To Connect Logitech Wireless Keyboard To Mac | Pro Guide

Step 1: Gather Your Supplies
Before you begin, ensure you have all the supplies you need. This includes a Logitech wireless keyboard, two AAA batteries, and a USB receiver with the keyboard. Once you have all those items, you can move on to the next step.
Step 2: Insert Batteries into the Keyboard
Now it’s time to open your Logitech wireless keyboard and insert the two AAA batteries into their designated spots. Ensure they are connected correctly before moving on – if not, your wireless keyboard won’t work properly!
Step 3: Connect the USB Receiver
Once your batteries are in place, it’s time to plug in the USB receiver that came with the keyboard. Insert it into one of your computer’s USB ports and leave it there for the setup duration.
Step 4: Turn On the Keyboard
Now turn on the power switch located on the backside of the keyboard. This will activate its connection with your computer via Bluetooth technology so that you can use it wirelessly!
Step 5: Test It Out!
Now try typing a few letters or words onto your new Logitech wireless keyboard. If everything works properly, you should see them appear on your monitor or laptop screen immediately!
If not, double-check each step and ensure everything is connected properly before attempting again. And congratulations – you just got a new wireless peripheral for your Mac!
Also Read: Can You Bring Keyboard On A Plane?
Why Won’t My Logitech Keyboard Connect To My Mac?
Do you need help getting your Logitech keyboard to connect to your Mac? You’re not alone. This is a common issue for many Mac users, but the good news is that you can take some simple troubleshooting steps to get your keyboard up and running. Let’s review some of the most common causes of Logitech keyboard connectivity issues.
Check Your Bluetooth Connection
The first thing you should do when troubleshooting a Logitech keyboard connection has checked the status of your Bluetooth connection on your Mac. If the Bluetooth connection isn’t active, there’s no way for the keyboard to connect.
Open System Preferences to check your Bluetooth connection and select “Bluetooth.” Ensure that “Show Bluetooth in menu bar” is checked, and then click “Turn Bluetooth On.” Once your Bluetooth connection is active, try connecting your Logitech keyboard again.
Check Your Batteries
Another common cause of Logitech keyboard connectivity issues is low or dead batteries in the device itself. Try replacing the batteries with fresh ones to see if that solves the problem. It may be worth investing in rechargeable batteries.
So you don’t have to worry about constantly replacing them after they die out completely—which can be especially inconvenient if you use your Logitech keyboard frequently!
Update Your Software & Drivers
If something other than these solutions works, it may be time to update your Mac computer’s software and drivers. Outdated software or drivers can interfere with how devices connect, so updating these can help resolve any problems with connectivity between devices like keyboards and computers.
To update software and drivers, go into System Preferences and select “Software Update.” This will allow you to check for any available updates related to the operating system on your Mac computer and any third-party software installed on it.
Also Read: How To Change Razer Keyboard Color?
Bottom Line:
Congratulations – Now you successfully know how to connect Logitech wireless keyboard to Mac! It only takes five simple steps and no more than 10 minutes of your time.
Now enjoy typing away without dealing with pesky wires getting in the way of productivity anymore! With this helpful guide, getting started was easy! Enjoy!

