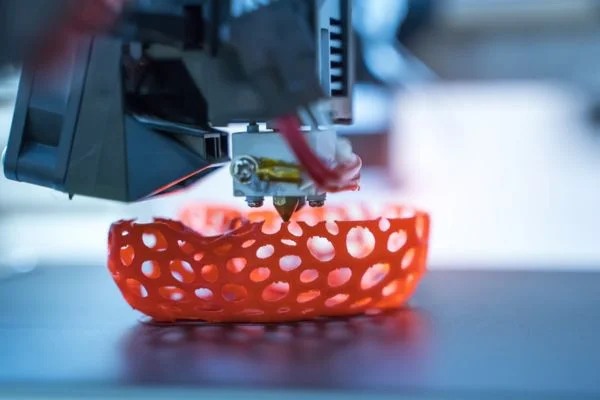
A raft is a thin material layer usually used as a foundation for 3D prints. It is beneficial for prints with a large surface area or irregular shape or on a low-quality printer. Although rafts can aid in building stability, they can also be difficult to remove without damaging the prints. In this guide, we will provide you with a step-by-step procedure on how to remove raft from 3D print without affecting the quality of the final product.
To remove a raft from a 3D print, use a combination of tools like a scraper, pliers, or tweezers. Start gently inserting the scraper under the raft to separate it from the print bed. Then, carefully lift and peel away the raft layer by layer. Use pliers or tweezers to grip and remove any stubborn parts.
Why Can’t I Get The Raft Off My 3d Print?
Before we dive into how to remove the raft from your 3D print, we should first understand why it can be challenging. The primary reason is that the raft is specifically designed to adhere to the print bed and the first layer of your object. This means the raft is tightly bonded to your print, making it difficult to remove.
Additionally, if you try to remove the raft too soon after printing, it may still be slightly soft and malleable, which can cause it to tear or rip, leaving bits behind.
So, how can you successfully remove the raft from your 3D print? The key is to wait until the print has thoroughly cooled before removing the raft. This will help ensure the raft has hardened enough to be removed without tearing or ripping.
A scraper or spatula can also help pry the raft off the print bed. Just gently touch it to avoid damaging the print bed or your object.
Another tip is using a raft removal tool, a specialized tool designed specifically for removing rafts from 3D prints. These tools have a thin, sharp edge that can easily slide beneath the raft, allowing you to remove it in one piece. Many 3D printer manufacturers offer raft removal tools, or you can find them online or at specialty shops.
If you still have trouble removing the raft, try adjusting your printer settings. Many slicing software programs allow you to adjust the raft density or thickness. By decreasing the density or thickness, you can create a less-sticky raft that is easier to remove.
Also Read: Why Is My Printer Not Printing Color Correctly?
How To Remove Raft From 3d Print | Step By Step Procedure

Step 1: Preparation
Before removing the raft from your 3D print, ensure that the print is completely cooled down. Using a sharp, flat-edged tool, such as a chisel or scraper, would be best to remove the raft from your print.
A pair of tweezers can also help handle small raft parts. It is also essential to exercise caution when handling your prints to avoid any accidental scratches or damage.
Step 2: Locate the Raft
Identifying the raft and the support structure is the next step in removing it. The support structure is usually underneath the print, while the raft is at the bottom. The raft is often attached to the print base and can be peeled off from the rest of the print.
Step 3: Remove the Raft from the Print
With your chisel or scraper, carefully work underneath the raft, and apply gentle pressure to separate it from the print. Work around the print to ensure the raft has been peeled off. Use your tweezers to remove any small pieces of the raft left behind.
Step 4: Smooth the Surface
After removing the raft, your print’s surface will likely have defects. Sandpaper or a smoothing compound can help alleviate any dents and scratch marks. Gently sand the surface to smooth out any rough areas. A finer grit of sandpaper can be used for a smoother finish.
Step 5: Clean the Print
Once the print is smoothed out, wipe it down with a clean, soft cloth. Check to see if there is any remaining residue left on the surface. If there is, use an appropriate cleaning solution. Avoid using window cleaner, which may lead to a foggy film on your print.
Also Read: Do I Need Auto Bed Leveling 3d Printer?
Are Rafts Bad For 3d Printing?
It depends.
A raft is a layer of plastic that helps create a flat surface for your object to sit on. It can be useful when printing objects without a platform, but depending on the printer and how you’ve set it up, it can also be an unnecessary annoyance.
If you’re using an FDM (Fused Deposition Modeling) 3D printer, it will probably not make a difference in your printing process whether or not you use a raft.
FDM printers work by laying down layers of plastic until they’ve created an entire object; this technique doesn’t require any flat surface or base to print on.
However, if you have an SLA (Stereolithography) 3D printer, using a raft can cause problems with your print quality and accuracy because SLAs require very fine details.
The layers of resin that make up these details may not be able to bond together correctly if something underneath them—like a raft—prevents them from thoroughly drying before the next layer is applied above them.
Also Read: How To Add Auto Leveling Bed To 3d Printer?
Bottom Line:
So, How To Remove Raft From 3d Print? Removing rafts from 3D prints can be challenging, but with the proper technique, it can be done without damaging the final product.
By following these steps, you’ll be able to remove the raft without scratches and dents while improving the surface texture of your prints. It is essential to remain patient and careful throughout the process and to always protect the print from accidental damage.

