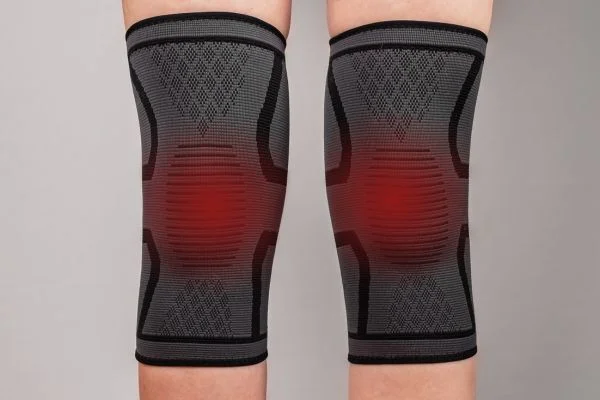
A hinged knee brace is a device used to support the knee joint and surrounding muscles, ligaments, and tendons. It is commonly used by people who have suffered a knee injury or have a chronic knee condition such as osteoarthritis. You must learn how to put on a hinged knee brace properly if you have been prescribed one. This blog post will walk you through the steps of putting on a hinged knee brace to get the most out of your treatment.
Why Do You Need A Hinged Knee Brace?
There are a few reasons why you might need a hinged knee brace. For example, perhaps you’ve recently suffered an injury to your knee, and your doctor has recommended that you wear a brace to stabilize the joint and promote healing. Or maybe you have a chronic condition like arthritis that causes pain and inflammation in your knee joint, and a brace can help to relieve some of that discomfort.

Tips
Whatever the reason, it’s essential to know how to put on a hinged knee brace properly so that it can do its job effectively. Here are some tips:
- Place the brace around your thigh so the hinge is on the outside of your knee.
- Fasten the straps securely, but don’t make them too tight – you should be able to slip a finger under them comfortably.
- Adjust the hinges to provide moderate support – not too much or too little.
- Wear the brace for the time recommended by your doctor or physical therapist.
With proper care and use, a hinged knee brace can be a helpful tool in managing pain and aiding in healing after an injury.
Read More: How Long Should I Wear A Knee Brace?
How To Put On A Hinged Knee Brace Properly?
When putting on a hinged knee brace, there are a few things to keep in mind:
- Ensure that the brace is the correct size for your leg.
- Take your time and be careful when putting it on, especially if you’re doing it yourself.
- Ensure that the hinges are correctly aligned before fastening the Velcro straps.

Step-By-Step Guide:
Here’s a step-by-step guide to putting on a hinged knee brace:
- Place the brace around your leg so the hinge is on the outside of your knee.
- Fasten the top and bottom straps securely, but don’t make them too tight. You should be able to slide a finger under the straps, but they shouldn’t be loose.
- Once the brace is in place, test it by moving your leg around and ensuring that the hinge doesn’t rub or pinch uncomfortably.
Following these steps will ensure you get the most out of your hinged knee brace and help you avoid any potential problems.
What Are The Benefits Of Wearing A Hinged Knee Brace?
Regarding safeguarding your knees, a hinged knee brace can offer significant advantages over other braces. Unlike a rigid brace, a hinged knee brace allows for a full range of motion while still providing support. This is because the hinge joint is designed to move with your knee, mimicking its natural motion. As a result, you can continue participating in activities like running and playing sports while wearing a hinged knee brace.
In addition, hinged knee braces are often more comfortable to wear than rigid braces, as they don’t put as much pressure on the surrounding muscles and tendons. Whether recovering from an injury or chronic pain, a hinged knee brace can be an excellent way to protect your knees.
Read More: How To Wear A Knee Brace With Pants?
Conclusion
There you have it! Those are the basics of how to put on a hinged knee brace properly. Remember to take your time when putting on the brace, and consult a healthcare professional if you have any questions or concerns. Your knee brace can provide you with years of support and pain relief with proper care.