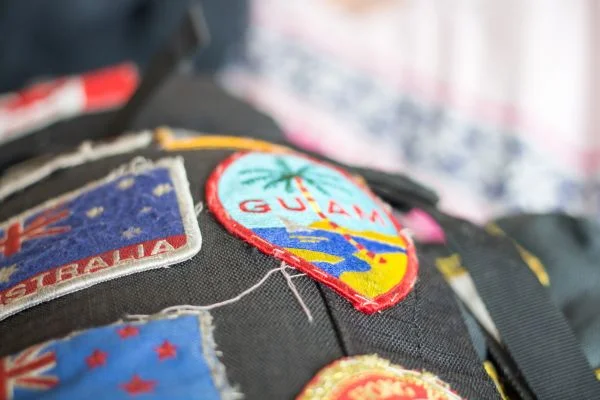
Decorating your backpack with patches is a great way to make it unique and express yourself. But if you’ve never sewn a patch, you may feel overwhelmed—and that’s okay! Sewing patches onto backpacks are relatively easy and can be done in four simple steps. So let’s take a look at how to sew a patch on a backpack.
How to Sew a Patch on a Backpack | Step-By-Step Guide
Step 1 – Get Your Materials Ready
Before sewing your patch, ensure you have everything you need. You will need the patch itself, a needle and thread (make sure the thread matches the fabric’s color), scissors, and a thimble if your fingers are sensitive. Once you have all your materials ready, it’s time to start sewing!
Step 2 – Secure the Patch
Lay your backpack flat on a surface and place the patch in its desired location. Use safety pins or binder clips to secure it, so it doesn’t move around while you’re sewing.
Step 3 – Start Sewing
Thread the needle with the matching thread and begin stitching by hand around the edges of the patch. Make sure to keep your stitches small and tight, so they don’t unravel quickly over time.
It’s also important to keep an even tension as you sew and avoid pulling too hard on any single stitch. If needed, use a thimble on your finger while pushing down on the needle for more control.
Step 4 – Tie Off & Trim Excess Thread
When you reach where you started sewing, tie off the end of the thread with a knot before cutting off any excess thread with scissors. Now, give your handiwork one last check before declaring victory! You’re now done sewing your patch onto your backpack—congrats!
Also Read: How To Store Backpacks?
Can You Iron Patches On a Backpack?

Personalizing your backpack with patches is a great way to express yourself and add a unique flair. But is it possible to iron patches on a backpack? The answer is yes—with the suitable materials and techniques, it is possible to easily attach patches to the fabric of a backpack in no time at all! Let’s break down the process step-by-step.
Finding the Right Fabric and Patches
The first step in successfully ironing patches onto a backpack is finding the correct type of fabric and patches. Although you can find many types of backpacks made from different fabrics, it is best to choose one made from thick canvas or denim for this project.
This type of material will hold up better when applying heat with an iron. Additionally, make sure that the patch you choose has an adhesive backing so that it will easily adhere to the fabric of your bag.
Also Read: How To Pack A Backpack?
Applying Heat and Pressure
Once you have all your materials ready, you’ll be ready to start attaching the patch! First, preheat your iron to its highest temperature setting (make sure there are no steam settings turned on).
Next, place your patch in the desired spot on your backpack and cover it with a thin cloth such as a handkerchief or piece of cotton fabric.
Once covered, press down firmly on top of the cloth with your preheated iron for 10-15 seconds until secure. As an extra precaution, flip over your bag after pressing and apply heat again from the other side just in case any adhesive wasn’t completely melted during the initial pass.
You’re Finished!
That’s all there is to it! After applying pressure with an iron for 10-15 seconds on each side of your bag, you can now proudly display your new patch with confidence, knowing that it won’t be coming off anytime soon.
Keep in mind that if done correctly, this same method can also be used for any fabric item you want to personalize with a patch, including jackets, hats, jeans, etc.
Also Read: How To Wear A Hiking Backpack?
Conclusion
With just four simple steps of how to sew a patch on a backpack, anyone can sew patches onto their backpacks without any prior experience or expertise in sewing or crafting.
All it takes is some patience and attention to detail, as well as having all the necessary materials available beforehand—a needle, thread, scissors, etc.—and pretty soon, you’ll have decorated your backpack with stylish patches for everyone to admire! So go ahead—grab some fabric patches and get creative!


