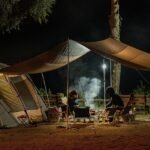
Whether car camping or backpacking, a little light can go a long way. This post will show you how to make a simple and versatile bucket light for your next camping trip. With just a few inexpensive materials, you can add extra light to your campsite – perfect for reading, cooking, or hanging out around the campfire. So, how to make a bucket light for camping? Let’s get started!
Read More: Are Hiking Shoes Good For Walking? Updated Guide 2024
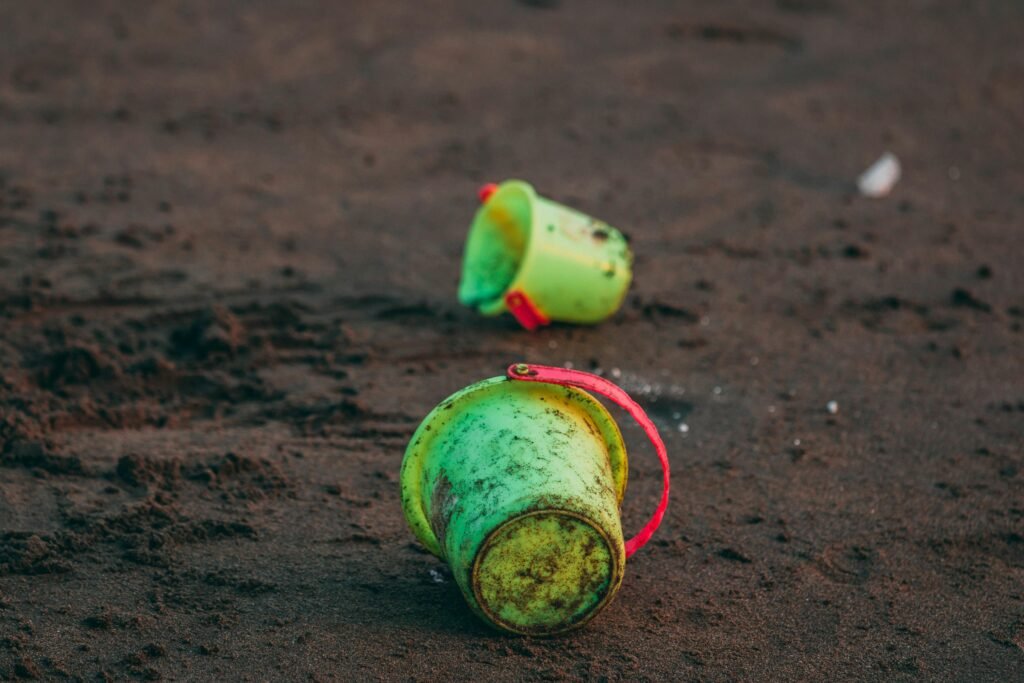
1. Get a bucket with a handle.
The first step to making a bucket light is getting the correct type. Of course, you want a handle to carry it from place to place easily.
It’s also best if it’s not too big or small, so you don’t have to lug around a big thing or cram your hand into something that barely holds anything at all (and then end up dropping it because it’s too slippery).
Make sure there aren’t any lids on the buckets in question! If they have lids, remove them before continuing with this project.
2. Drill holes for the lights around the top.
As you’re drilling holes for the lights, make sure to drill them in the bucket and not in the handle. Choose a drill bit slightly smaller than your light bulbs and ensure that each hole is evenly spaced and doesn’t overlap another hole. Also, check that your lights are secure before putting them in your new home in your camping bucket!

3. Thread the lights through the holes.
Thread the lights through the holes if you have a hole punch; great! If not, use a drill and make small holes in the bucket that allow you to push your lights through. Use hot glue or super glue to secure your lights to the bucket.
4. Add more lights if needed.
If you want to add more lights, it’s easy! Just make sure they’re waterproof and use some hot glue or adhesive to stay put. If you have a small bucket, like the one in this tutorial, two lights at most should do things right.
If you have a larger container, such as a 5-gallon paint can, four or five will be enough illumination for most purposes. For something even more significant than that—like an old refrigerator—you can get away with eight or nine lights (but make sure they’re waterproof).
Read More: How To Shower While Camping | Easy Ways 2024
The great thing about using different colors is that it gives your light an excellent disco effect when illuminated from below.
It also looks cool just having one color of light illuminating your campfire supplies—this is especially true if you have reflective surfaces inside the bucket (or on top) so that all the colors bounce around inside, giving off a bright glow everywhere!
5. Put it on a chair or table at night to light up your campsite.
This is the simplest way to make your own bucket lighting if you have a bucket with a handle and some lights.
Drill holes around the top of the bucket, threading the lights through them, so they hang down inside. You should add a few more lights if you need more illumination! Put it on a chair or table at night to light up your campsite. Now you know the answer – how to make a bucket light for camping?
Read More:Do I Need Hiking Boots? Updated 2024
Conclusion
We hope this blog post has inspired you to make your bucket light. It’s a fun project that won’t take very long at all, and the result is sure to be loved by friends and family alike. Plus, it gives you an excuse for some crafting time if that’s something you need! I hope now you know, how to make a bucket light for camping?