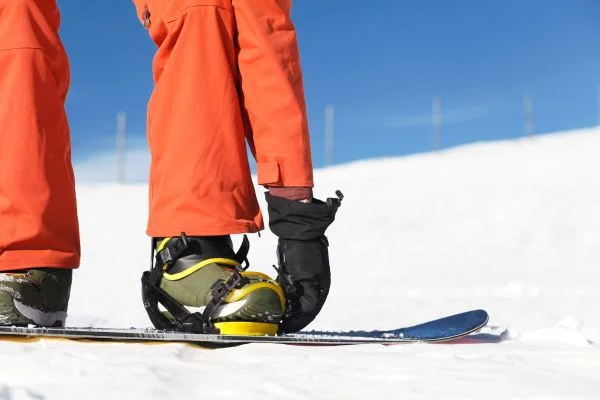
Setting up your snowboard with the right bindings is essential in preparing for a great day on the slopes. While it may seem intimidating for beginners, attaching bindings to a snowboard is straightforward with some guidance. This article will show how to put bindings on a snowboard, ensuring a secure and comfortable fit.
Whether you’re a first-time snowboarder or want to refresh your skills, this guide will help install your bindings properly.
How To Put Bindings On A Snowboard | Step By Step Procedure
Step 1: Gather the Necessary Tools
Before starting the binding installation process, gather the necessary tools. Depending on the binding type, you will typically need a screwdriver (usually a Phillips head or a hex key), mounting discs, screws, and a snowboard with pre-drilled binding holes. It’ll be easier and more efficient if your workspace is clean and well-lit.
Step 2: Identify the Front and Back of the Snowboard
Identify the front and back of your snowboard. Usually, snowboards have graphics or logos indicating the front, but if not, look for a slightly upturned shape at the tip, which is typically the front.
Step 3: Determine Stance and Binding Placement
Determine your preferred stance, determining how you will position your feet on the snowboard. Stance width refers to the distance between the bindings and can vary depending on your height, riding style, and personal preference. Refer to the manufacturer’s recommendations or consult an experienced rider for guidance on finding the correct stance width.
Once you’ve determined your stance, position the bindings accordingly. Typically, bindings are set at a 0-degree angle for a neutral stance, but you can adjust the angles based on your riding style (e.g., duck stance for freestyle). Ensure the binding angles and positions are the same for a balanced setup.
Read more about Is Wearing A Gopro A Traffic Violation?
Step 4: Attach the Binding Discs
Take the binding discs and align them with the pre-drilled holes on the snowboard. Ensure the discs are centered on each hole, allowing for equal adjustment. Once aligned, insert the screws through the holes on the discs and tighten them gently by hand.
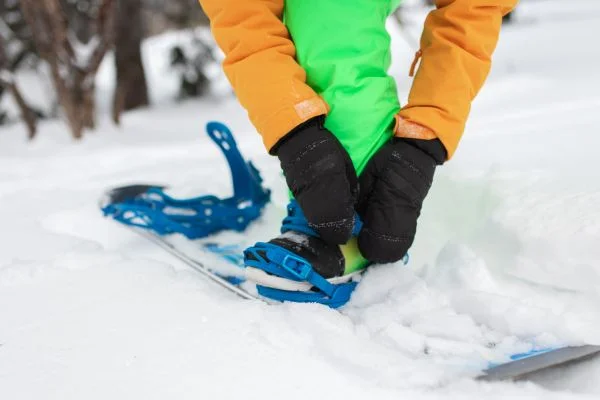
Step 5: Secure the Bindings
Place the bindings over the discs and align them with the screw holes on the discs. Double-check that the bindings are positioned correctly, with the front binding over the front holes and the back binding over the back holes.
Using a screwdriver or appropriate tool, start securing the bindings by tightening the screws. You’ll want to tighten each screw partially, moving from one to another in a diagonal pattern (e.g., top left, bottom right, top right, bottom left). This method ensures even pressure distribution and helps maintain a balanced attachment.
Continue tightening the screws until they are snug but not overly tight. Over-tightening can damage the snowboard or strip the screws. Ensure that the bindings are firmly attached, but allow adjustments if needed.
Step 6: Verify and Adjust
After securing the bindings, visually inspect the setup to ensure everything appears aligned and symmetrical. Check that the bindings are centered on the board, the angles are as desired, and the screws are secure. If any adjustments are necessary, carefully loosen the screws, make the adjustments, and retighten them. Now I hope you prepare on how to put bindings on a snowboard.
Read more about Can I Use Climbing Helmet For Snowboarding?
How Do You Tell Which Binding Is Left Or Right?
Differentiating between the left and right bindings can be important when setting up your snowboard. Here are a few ways to determine which binding is meant for the left foot and which is meant for the right:
1. Look for “L” and “R” Markings
Many snowboard bindings come with clear “L” and “R” markings on the baseplate or highback. These letters indicate the left and right bindings, respectively. Check the bindings for these markings to identify which is intended for each foot quickly.
2. Asymmetrical Design
Snowboard bindings are often designed to be asymmetrical, with slight variations between the left and right bindings. Pay attention to the shape and contours of the bindings. They may have subtle differences in the overall shape or the positioning of straps and buckles. These design elements can provide clues to distinguish the left and right bindings.
3. Toe Strap Orientation
Another way to identify the left and right bindings is by looking at the orientation of the toe straps. Most bindings have adjustable toe straps that can be positioned to fit different boot sizes and shapes.
The straps are typically angled inward toward the center of the snowboard. When the bindings are correctly set up, the toe straps should naturally curve over the toes of each foot, matching the shape of the boots.
4. Pre-Attached Mounting Discs
Some bindings come with pre-attached mounting discs specific to each foot. These discs may have unique shapes or markings to indicate the left or right binding. When positioning the bindings on the board, ensure the discs align with the corresponding foot.
Read more about Creative Outdoor Speaker Mounting Ideas
If unsure about the left and right bindings, refer to the manufacturer’s instructions or consult the product documentation. If the bindings are not explicitly labeled, contact the manufacturer or a knowledgeable retailer who can provide guidance based on your specific model.
Bottom Line
Properly installing bindings is crucial for an optimal snowboarding experience. Following this step-by-step guide on How To Put Bindings On A Snowboard, you can confidently attach bindings to your snowboard. Remember to take your time, double-check your work, and make necessary adjustments to ensure a secure and comfortable fit. Get ready to hit the slopes and enjoy your ride!