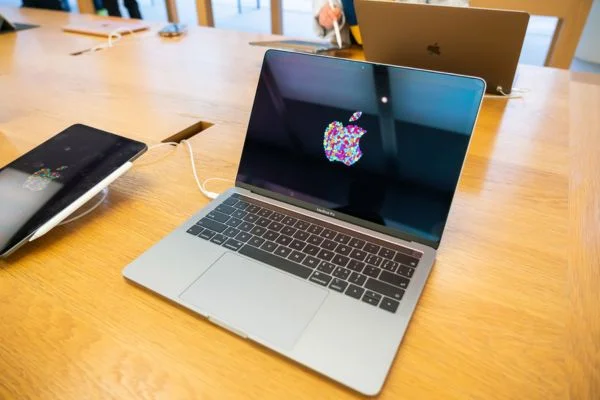
You can make your documents look more professional and attractive by printing them in color. You should learn to print in color if you’re using a Mac for the first time. We’ll show you how to print in color on Mac, whether using a desktop or a laptop.
To print in color on Mac, You can print in color on a Mac by choosing “Print” from the File menu, choosing your color printer, and adjusting the settings.
How To Print In Color On Mac | Step By Step Procedure
Step 1: Check your Printer Settings
Check your printer settings first before printing in color on a Mac. Make sure your printer is connected to your Mac and turned on. Select the File menu at the top of the screen and open the document you want to print. Choose Print from there.
There’s a list of available printers in the Print dialog box. On the Printer menu, select the printer you’re using. Among the options here are Print Quality and Color Options. It would be best to ensure that Color Options are set to “Color” and “Auto.”
Step 2: Choose Your Color Preferences
Check your printer settings, then choose your color preferences. You can choose Color or Grayscale under the Color Options menu in the Print dialog box. Select Color if you want to print in color.
You can also see more options by clicking Show Details. You can choose between Print Settings, Paper Handling, Layout, and more. Here you can adjust hue, saturation, and lightness. Color matching is an option if you’re unhappy with the color quality.
Step 3: Print Your Document
After you’ve selected your printing preferences and adjusted everything, you can print your document. Wait for the printer to finish the job after you click Print in the Print dialog box. Check the printer’s manual for calibration if the printout doesn’t come out in color.
Step 4: Troubleshooting
You can take a few troubleshooting steps if you can’t print in color on your Mac. First, ensure your printer is turned on and connected to your Mac. Next, make sure you have the correct printer drivers installed.
Contact Mac customer support if none of these work.
Also Read: Do I Need Auto Bed Leveling 3d Printer?
How Do I Change My Printer From Black And White To Color On My Macbook?

A printer is a great convenience, especially when you have assignments, presentations, or documents to print. But it’s annoying when you accidentally set your printer to black and white and don’t realize it until it’s too late. Let’s see how to change HP Printer from black and white to color on a Mac.
Step 1: Connect your HP printer to your Macbook first. Click the Apple icon at the top left corner of your Macbook screen to open the system preferences. Select Printers and Scanners from there.
Step 2: Find your HP printer in the ‘Printers and Scanners’ tab. You can open its settings by clicking on it once you’ve located it.
Step 3: At the bottom of the page, under the Printers and Scanners tab, you’ll find an option called Options and Supplies. When you click it, you’ll be redirected to your HP printer’s settings panel.
Step 4: Select Driver from the Settings panel. You’ll see a dropdown menu under ‘Color Options’ in the driver options. Select ‘Color’ or ‘Automatic’ from the dropdown menu.
Step 5: After you’ve selected your color, save your changes, and you’re done. Your HP printer is now set to print in color.
Also Read: How Does 3d Printer Auto Bed Leveling Work?
Why Is There No Option To Print In Color Mac?
If you’re a Mac user, your color printing options are limited. Your Mac doesn’t have a color printing option, despite having an advanced operating system. Let’s discuss why Macs don’t have a color printing option and what’s wrong with it.
1. Apple’s Philosophy
Apple’s philosophy is one of the main reasons Macs don’t have color printing. They try to keep things simple for their users and focus on providing a great user experience.
Users will have a better and more seamless experience by limiting color printing options. Also, it helps users save money on ink and wear and tear on their printers.
2. Limited Color Options
Another reason Macs can’t print in color is that most printers have limited color options. The Mac must detect the printer’s ability to print in color. Nevertheless, most printers don’t support color printing, so Mac can’t offer it.
3. Alternative Ways to Print in Color
There are alternative ways to print in color on Macs, even though Macs don’t have an option. You can get color prints by adjusting the color settings on your printer.
Furthermore, you can print your document in black and white and color it with markers or colored pencils. Using this method can be fun and creative, and you’ll get a better-looking print than if you printed it in color.
4. Printing Quality over Quantity
Apple prioritizes printing quality over quantity, so Macs can’t print in color. By limiting color printing options, Macs can produce better prints.
There’s a difference between color and black ink since color ink can smudge or bleed. A Mac can ensure users get the best possible print by prioritizing quality.
5. Eco-Friendly Approach
Apple’s eco-friendly approach means Macs can’t print in color. Color printing uses more ink than black and white, which isn’t always necessary.
Macs’ limited color printing options help preserve the environment by reducing ink waste. Furthermore, black-and-white printing saves energy by lowering printer energy usage.
Also Read: Why Is My Printer Not Printing Color Correctly?
Bottom Line:
You now know how to print in color on Mac! You’ll be printing beautiful, vivid documents in no time. Printing in color can make your flyers, posters, or photos look more professional. Don’t be afraid to add color and life to your Mac documents next time!


