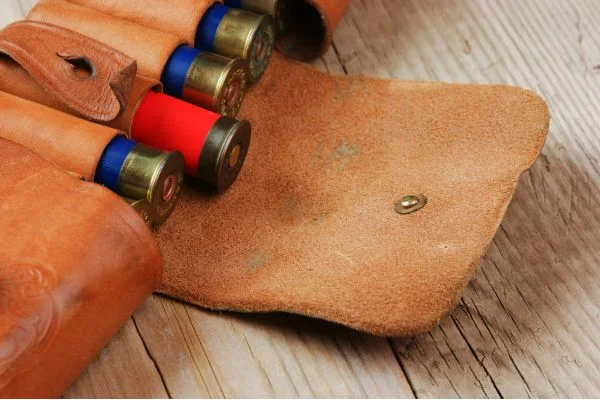
Are you looking for a way to make your gun belt more functional and stylish? If so, making bullet loops is an easy way to do it. Not only are they great for carrying ammunition, but they also look great when done right. This blog post will take you through how to make bullet loops on a gun belt.
To make bullet loops on a gun belt, cut leather strips, round edges, stitch them onto the belt, and secure with contact cement for durability.
What Are Bullet Loops?
Bullet loops are small leather straps that attach ammunition to a belt or bandolier for easy access during shooting. They’re most commonly used in hunting and self-defense scenarios where quick reloads are essential for staying safe and successful.
When choosing the right size loop for your bullets, it’s essential to select one that is big enough so that the bullet can easily slide out when needed but not so loose that it slips off the belt.
Types of Bullet Loops
Bullet loops come in various sizes and shapes depending on the type of ammo stored. Two main categories of bullet loops—open top and closed top—each has advantages and disadvantages. Open-top loops allow faster reloading but are more prone to dirt and debris getting inside them.
In contrast, closed-top ones offer more protection from environmental elements but require more effort to access the rounds. Therefore, it’s essential to consider which type best suits your needs before making a purchase.
Also Read: Where Should A Tactical Gun Belt Rest?
Uses for Bullet Loops
Besides hunting and self-defense scenarios, bullet loops can also be used for other applications. For example, they can store spare rounds on a rifle or shotgun sling during long hikes or treks through the wilderness.
They can also be attached to range bags or backpacks for easy access during target practice sessions at the range or in your backyard.
Additionally, some people use them to carry extra ammo in their vehicles if they run into trouble while traveling between destinations.
Also Read: How To Carry A Gun Without A Belt?
How to Make Bullet Loops on a Gun Belt | Step-By-Step Guide

Step 1: Get the Supplies You Need
The first step in making your bullet loops is getting the necessary supplies. You’ll need some leather or other sturdy material (depending on what type of gun belt you have), scissors, thread, needles, and any embellishments you want to add, such as rivets or conchos. Additionally, you may need tools such as a hammer and punch if you add hardware like rivets.
Step 2: Cut Out the Leather Pieces
Once you’ve gathered all your supplies, it’s time to cut out the pieces of leather used for the bullet loop. The size of the pieces depends on how wide your belt is and how large of a loop you want to make. Once your pieces are cut out, it’s time to move on to step three.
Step 3: Sewing Your Bullet Loop
Now that your pieces are cut out, it’s time to sew them together into one continuous loop. Start by sewing one end of each piece together using strong thread and stitching several times over to ensure strength and durability.
Once both ends are securely sewn together, turn it inside out so that all seams are hidden from view, and then stitch around the entire loop several times to reinforce it further. Finally, add any embellishments you would like before moving on to step four.
Step 4: Attaching Your Bullet Loop
The last step is attaching your newly-made bullet loop to your gun belt. Depending on what type of material your belt is made from and how thick it is will determine what type of hardware you should use for attaching the loop (i.e., snaps or rivets). Once everything is attached securely, your new bullet loops are ready for use!
Also Read: Are Belt Fed Guns Legal?
Bottom Line:
So how to make bullet loops on a gun belt? Making bullet loops can be an easy way to spruce up an old gun belt while simultaneously making it more functional! All it takes is simple materials and basic sewing skills; no fancy tools are required!
With these instructions in mind, anyone can learn how to make their custom bullet loops in just a few easy steps. So go ahead—get creative with your design and start creating today!


