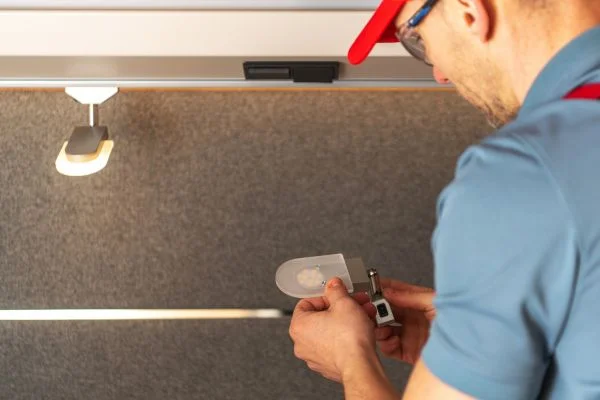
Are you ready to upgrade the lighting in your camper? Whether you want to add more light or switch to LED lights, it’s essential to know how to change them yourself. However, it’s pretty straightforward once you know what steps to take and the tools you need. Read on for a simple guide on how to change camper lights safely and efficiently.
How To Change Camper Lights?

Gather the Necessary Tools
Before you can even begin changing your camper lights, you need the right tools. Gather an adjustable wrench, Phillips head screwdriver, wire stripper/cutter tool, tape measure, electrical tape, and heat shrink tubing for insulation. The heat shrink tubing is optional but recommended for bare wires exposed after installation. That way, you won’t have loose wires lying around that could cause an electrical shock or spark.
Unhook Electrical Wires
The next step is to unhook the existing electrical wires from your old light fixtures. Use your adjustable wrench or Phillips head screwdriver (depending on which type of screws are used) to loosen each before pulling them free of their connections with your fingers.
If possible, label each wire as you go so it will be more accessible when reattaching them later on. This will save time and ensure that everything gets appropriately reconnected. You may also want to take a picture of the wiring before disconnecting it in case something goes wrong during the installation process!
Read More: Can You Leave Outdoor Christmas Lights On All Night?
Remove Existing Light Fixtures
Now that all of the electrical connections are unhooked from your old light fixtures. It is time to remove them from the ceiling or wall where they were mounted. Depending on how they were installed initially, this could require extra tools such as a drill with a hole saw attachment if there are any screws involved in mounting them securely into place.
Once they are removed, ensure no pieces of drywall or other debris remain behind. This will help prevent any potential damage during the installation of the new fixtures. Now you know about how to change camper lights.

Install New Outdoor Smart Lights Fixtures
Once all the existing light fixtures have been removed from their mounts and discarded (or saved), it’s time to install the new ones! Start by measuring where exactly each fixture needs to go. So it looks aesthetically pleasing and provides adequate illumination for whatever space it is located in.
Then use either screws or nails (depending on which method was used previously) and secure each fixture into its designated spot before connecting up all of those electrical wires again. Ensure that none of these wires are crossed or touching each other since this could lead to an electric shock or fire hazard if not handled correctly during installation.
Finally, connect up all wiring according to their labels beforehand and test out by turning on power at its source. If there is no sparking immediately, congratulations! You have successfully changed out those old camper lights without incident!
How Do You Remove Lights From A Camper?
One of the best parts about owning a camper is being able to take your home with you on the road. But when it’s time to leave your campsite, you need to ensure that you’ve packed everything properly. That includes removing all the lights from the camper.
Depending on the type of light, you can use a few different methods. For example, if you have LED lights, they will usually unscrew from the base. If you have incandescent lights, on the other hand, you will need to remove the entire fixture by unscrewing it from the wall or ceiling. Either way, it’s essential not to damage the camper’s wiring when removing the lights. With patience and attention to detail, you’ll be able to take down your camper lights with ease.
Read More: How To Set a Timer For Outdoor Lights?
Conclusion
We hope now you know how to change camper lights. Changing camper lights can seem daunting at first glance. But with these easy steps outlined above, anyone can do it safely and efficiently in no time!
Be sure never to work with electricity unless comfortable doing so because improper wiring can lead to electrocution or, worse yet, a fire hazard down the line if done incorrectly. Always err on side caution when dealing with electricity inside tight spaces such as campers.
With just a few essential tools mentioned here today and following this step-by-step guide. Anyone can upgrade their camper lighting without fear of shocking themselves or others nearby – now get out there and start shining brighter than ever!


