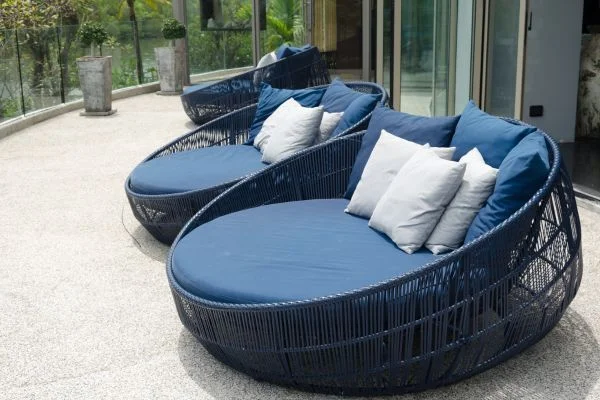
Outdoor activities are some of the best ways to enjoy the warm weather, but let’s be honest – sitting on a hard, cold metal chair is uncomfortable. But don’t worry; we’ve got you covered! In this blog post, we’ll show you how to make outdoor chair cushions so you can enjoy your time outdoors in comfort.
What You’ll Need
- 1 yard of outdoor fabric (we suggest a Sunbrella or similar fabric that’s resistant to fading, mildew, and stains)
- ½ yard of closure fabric (a cotton fabric will do)
- Outdoor batting (this can be found at most craft stores)
- Scissors
- Pins
- Thread
- A sewing machine (optional)
- A hand-sewing needle (optional)

If you’re looking to enhance your sitting experience, learn some effective methods on how to make a chair more comfortable.
How To Make Outdoor Chair Cushions: Step-By-Step Guide
Step 1: Cut the Fabric
Cut two 18×18″ pieces for the front and back of the cushion. Then cut two strips of fabric 2″x18″ for the ties. Set the remaining fabric aside for now.
Step 2: Sew the Ties
Take the two tie strips and sew them along the long edge with a ½” seam allowance. If you’re using a sewing machine, set it to a straight stitch and sew at a medium speed. If you’re hand sewing, use a running stitch. Once the ties are sewing together, press them open with an iron.
Step 3: Sew the Sides
Place the front and back pieces of fabric right sides together and sew around all four sides with a ½” seam allowance, leaving a 6″ opening along one side for turning. As before, if you’re using a machine, set it to a straight stitch and sew at a medium speed. If you’re hand sewing, use a running stitch.
Step 4: Add Batting and Ties
Cut four pieces of batting that are 18″x18″. Place two pieces on each side of the cushion, ensuring they’re evenly distributed. Then place the ties at each corner, ensuring that the raw edges are aligned with the raw edges of the side seams. Finally, pin all around the perimeter of the cushion to secure everything in place.
Step 5: Sew It Up!
Sew around all four sides again, using a ¼” seam allowance to close up the opening from before. Be sure to backstitch or lock your stitches when you reach each corner, so everything stays in place. And that’s it! Your outdoor cushion is now complete. All that’s left to do is put it on your favorite patio chair and enjoy. Now, you should know the answer of “how to make outdoor chair cushions” for better decoration.
Curious about the technology behind heated chair lifts? Discover the mechanics and benefits of how heated chair lifts work in our detailed article.
What Is The Best Filling For Outdoor Cushions?
Outdoor cushions must be comfortable and durable, as they will be subjected to various weather conditions. For this reason, many people choose to fill their cushions with polyester fiberfill.
This material is highly resistant to mold and mildew and can retain its shape even after being exposed to moisture. Additionally, polyester fiberfill is relatively inexpensive, making it a popular choice for budget-conscious shoppers.
However, some people find that polyester fiberfill is less comfortable than other fillings. If you prioritize comfort over durability, consider using down or wool. These materials are more expensive than polyester fiberfill, but they offer a softer and more luxurious feel. Ultimately, the best filling for outdoor cushions depends on your preferences and needs. Now you know, chow to make outdoor chair cushions and which filing is best for you.

Gaming comfort matters; find out the optimal height for your gaming chair in our guide on how high should your chair be for gaming.
Conclusion
Now that you know how easy it is to make your outdoor heated camping chair cushions, there’s no excuse to add extra comfort and style to your patio furniture! Just gather your materials, follow our simple five-step tutorial, and enjoy your new cushions for seasons to come. We hope now you know “how to make outdoor chair cushions” for making your home décor more elegant.


